
If you love riding, you already know this: a comfortable, well-kept leather saddle isn’t a luxury — it’s safety equipment. Proper leather saddle cleaning and conditioning keeps the leather supple, prevents cracks, and protects both you and your horse. Neglect it, and even an expensive saddle can become slippery, squeaky, or worse… unsafe. The good news? You don’t need a full tack room or a professional groom to take care of your saddle. With a simple, step-by-step routine and the right products, you can keep your tack looking good, performing well, and lasting for years. This guide walks you through exactly how to clean and condition a leather saddle properly, without damaging the leather or over-oiling it.
Why Proper Leather Saddle Care Matters
Extending Your Saddle’s Lifespan
Every ride leaves a little bit of sweat, dust, hair, and arena grime on your saddle. Over time, all of that works its way into the leather, drying it out and breaking down the fibers. Regular cleaning removes salt and dirt, while conditioning replaces lost moisture. Riders who clean and condition consistently often keep the same saddle for 15–25 years or more. Riders who skip care? They see cracked flaps, dried seats, broken billets — and expensive replacements.
Maintaining Safety and Performance
A leather saddle is not just about looks; it’s a piece of safety gear. Dried, neglected leather is more likely to:
- crack at weight-bearing points
- stretch unevenly
- become slippery or squeaky
That can mean poor leg stability, uneven pressure on your horse’s back, or in the worst case, a failure in the middle of a ride. A well-maintained saddle holds its shape, keeps you secure, and distributes weight evenly on your horse’s back, making rides more comfortable for both of you.
Preserving Your Investment
A quality leather saddle is a serious investment. Whether you ride English, Western, endurance, or trail, you’ve spent real money on that tack. Proper care:
- delays the need for costly repairs
- keeps resale value high
- prevents preventable damage like mold, deep staining, and cracked leather
A bottle of cleaner and conditioner costs a fraction of a billet replacement or a new saddle. Think of your cleaning routine as built-in insurance for your gear.
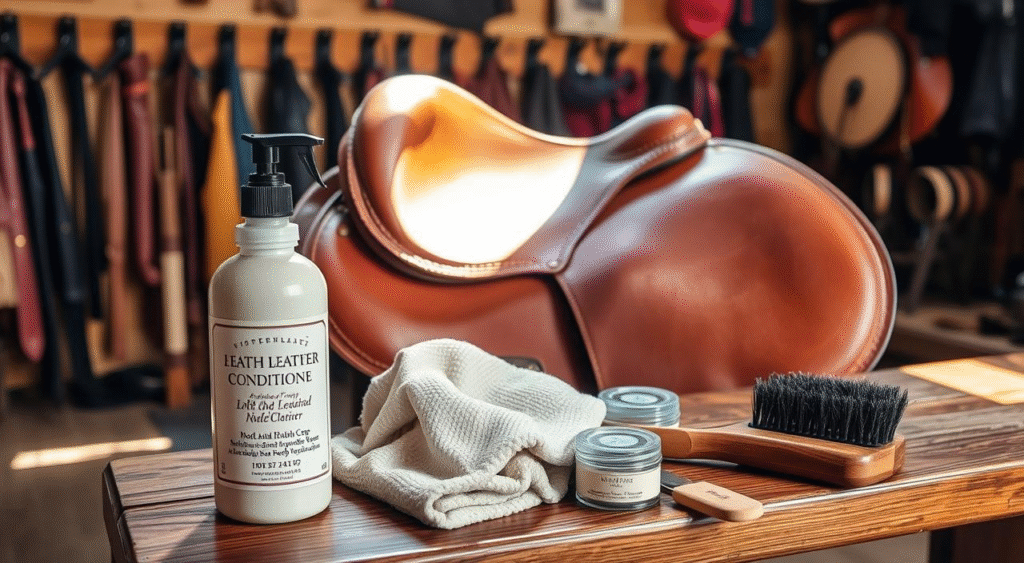
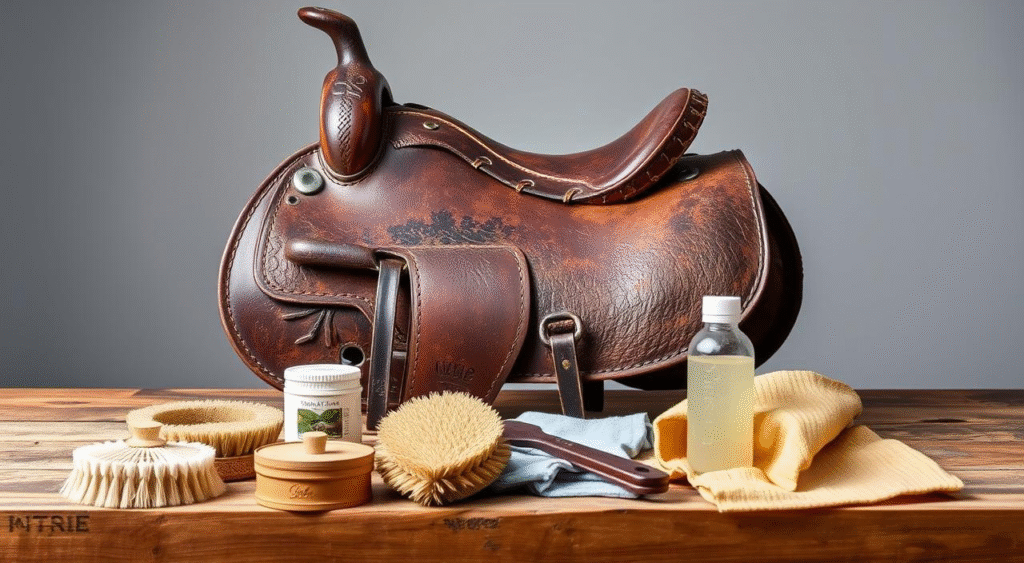
Essential Tools and Materials for Saddle Care

Cleaning Supplies You’ll Need
Start with a small, dedicated kit. You don’t need 20 products — you just need a few that actually work.
Saddle soaps and cleaners
Look for products made specifically for leather tack:
- Glycerin saddle soap (liquid or bar) – gentle and great for everyday cleaning
- pH-balanced leather cleaner – ideal when the saddle is very grimy or salty
Avoid dish soap or household cleaners; they can strip the leather and upset the pH balance.
Brushes and applicators - Soft tack sponge or microfiber cloth – to apply soap and cleaner
- Soft-bristle brush – for stitching, tooling, and hard-to-reach areas
- Old toothbrush – perfect for around buckles, stirrup bars, and creases
Conditioning Products Worth Investing In
Conditioning is where the leather gets its “life” back. Choose quality here.
Oil-based vs. wax-based conditioners
Both have a place; they just do different jobs:
- Oil-based conditioners (e.g., neatsfoot oil, leather oil blends)
- Deep moisturising
- Great for very dry saddles
- Easy to over-do if you’re not careful
- Wax-based or cream conditioners (balms, leather creams)
- Add a protective barrier
- Better water resistance
- Ideal for regular use once the leather is in good condition
Optional Tools That Make the Job Easier
Not essential, but very handy:
- Saddle stand or rack – keeps the saddle stable while you work
- Lint-free polishing cloth – for final buffing
- Leather balm with a little wax – for show-ring shine or extra weather protection
Preparing Your Workspace for Saddle Maintenance
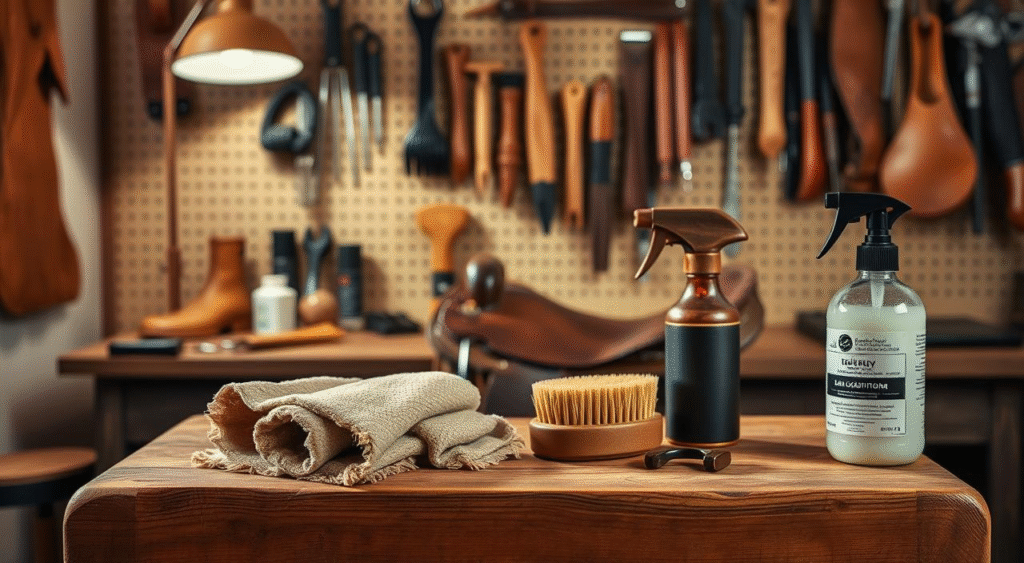
Creating an Ideal Cleaning Environment
You don’t need a fancy tack room, but a bit of setup makes a big difference:
- Choose a well-ventilated area – for your comfort and to help the saddle dry gently
- Make sure you have good lighting – so you can see cracks, dirt, or mold spots
- Lay down an old towel, sheet, or mat – to protect the floor and catch drips
Setting Up Your Saddle for Access to All Areas
Place the saddle on a saddle stand, rack, or padded fence rail. Make sure it’s stable and at a comfortable height so you’re not hunched over. Remove detachable parts before you start cleaning.
Protecting Surrounding Surfaces
Leather care products can darken wood or stain fabric. Cover nearby surfaces and wear clothes you don’t mind getting marked. Keep a small bin or bag nearby for hair and used wipes/sponges.
Step 1: Assess and Disassemble Your Saddle
Initial Assessment of Your Saddle’s Condition
Before you grab the soap, take a minute to really look at your saddle:
- Are there dry or cracked areas (billets, seat, knee pads)?
- Any mold or mildew spots?
- Are the stirrups leathers stretched unevenly?
- Is the hardware tarnished or loose?
This quick check tells you how much cleaning and conditioning you’ll need.
Removing Tack and Detachable Parts
Take off anything that can be removed safely:
- Stirrup leathers and irons
- Girth or cinch
- Breastplate/martingale attachments
- Rear cinch (Western)
Removing these makes it easier to clean under straps and in creases where sweat and dirt collect.
Documenting Problem Areas (Optional but Helpful)
If you’re working on an older or expensive saddle, a photo or quick note can help you track changes over time.
| Area | Current Condition | Notes |
|---|---|---|
| Seat | Slightly dry | Extra conditioner needed |
| Flaps | Normal wear | Focus on sweat marks |
| Billets/Latigos | Dry at holes | Check for cracks; condition well |
Step 2: The Cleaning Process – From Dust to Deep Clean
Removing Surface Dirt and Dust
Start dry, not wet.
- Use a soft brush or dry cloth to sweep off dust, hair, and arena grit.
- Pay special attention to stitching, folds, and under flaps, where crud likes to hide.
Removing loose dirt first prevents you from grinding grit into the leather when you start with soap.
Using Saddle Soap or Leather Cleaner
- Lightly dampen a tack sponge or microfiber cloth with lukewarm water.
- Add a small amount of saddle soap or cleaner – don’t overload.
- Work in small circles, creating a light lather over one section at a time.
- Wipe away excess with a clean, damp cloth, then gently dry with a towel.
The goal is clean, not soaking wet. Leather doesn’t like being saturated.
Tackling Sweat Marks and Salt Buildup
Under the rider’s leg and under the panels is where sweat builds up most. Sweat leaves salt behind, which dries leather:
- Use a slightly stronger concentration of cleaner in these zones.
- Work carefully into creases and edges.
- Wipe thoroughly so no sticky residue remains.
Regularly cleaning sweat marks is one of the best ways to stop leather from hardening and cracking.
Addressing Stubborn Stains and Grime
For dark spots, ingrained grease, or “mystery grime”:
- Use a targeted leather cleaner made for tough dirt.
- Apply sparingly with a sponge or cloth.
- Let it sit for a minute or two if the instructions allow.
- Wipe off completely.
Spot Testing Cleaning Products
Before using any new cleaner or stronger product, always:
- Test on a small, hidden area (under the flap or stirrup bar).
- Wait for it to dry and check the colour and feel.
If the leather darkens dramatically, becomes tacky, or looks “stripped,” don’t use it on the whole saddle.
Step 3: Conditioning Your Leather Saddle Properly
Identifying Your Saddle’s Leather Type
Most modern saddles are either:
- Full-grain leather – high-quality, with natural grain visible
- Top-grain leather – slightly sanded/smoothed for a more uniform look
Some older or specialty saddles may include suede or nubuck panels.
Full-Grain vs. Top-Grain Leather
- Full-grain: often benefits from richer conditioners; it’s tougher and ages beautifully.
- Top-grain: still high-quality but can darken more quickly with heavy oils; use lighter hands.
Suede and Nubuck Considerations
Suede/nubuck parts (e.g., knee rolls or seats):
- Do not use oily or waxy conditioners on these.
- Use a suede brush and dedicated suede/nubuck care products instead.
- Keep soapy water and oil away from them as much as you can.
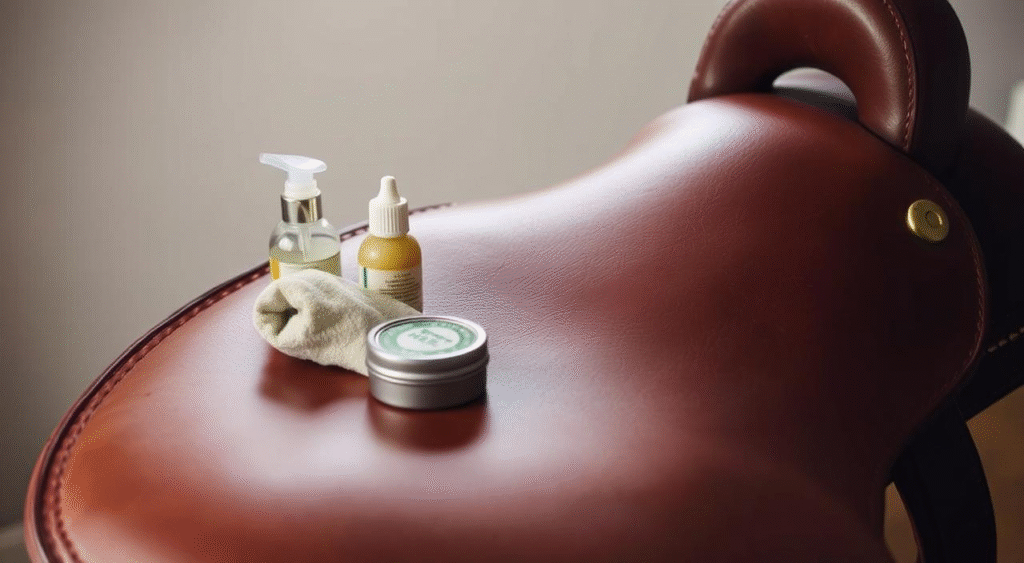
Applying Conditioner Correctly
Less is more. Over-conditioning can clog pores, attract dirt, and make leather spongy.
- Make sure the leather is clean and just slightly damp or dry.
- Put a small amount of conditioner on a soft cloth or sponge, not directly on the saddle.
- Work it into the leather in small circular motions, focusing on:
- seat and knee pads
- flaps where your leg sits
- billets/latigos (weight-bearing areas)
- Let it soak in for 10–20 minutes.
If the leather absorbs it quickly and still looks dry, you can repeat lightly. Avoid saturating.
Working the Product into the Leather
After the conditioner has had time to soak:
- Use a clean, dry cloth to gently buff away any excess.
- This helps distribute the product evenly and prevents a sticky finish.
Well-conditioned leather should feel supple, not greasy, and bend smoothly without cracking.
Step 4: Drying and Finishing Your Freshly Conditioned Saddle

Proper Drying Methods
Let your saddle dry:
- At room temperature
- Away from direct sunlight, heaters, or blow dryers
Fast heat dries out natural oils and can cause premature cracking. Patience here pays off in years of extra life.
Buffing for a Professional Finish
Once dry to the touch:
- Use a soft, lint-free cloth to buff the leather.
- Light pressure and quick, small strokes bring up a gentle sheen.
If you’re heading to a show or want extra polish, a light wax-based balm on the outer surfaces (not the underside panels) can give a beautiful finish.
Reassembling Detached Components
When everything is clean, dry, and conditioned:
- Reattach stirrup leathers and irons
- Replace girth/cinch and any attachments
- Check that all buckles move freely and no holes are tearing or stretching badly
Checking Hardware and Stitching
As you put everything back:
- Inspect stitching along billets, girth straps, and stress points
- Check stirrup bars for security
- Look at D-rings and buckles for cracks or sharp edges
Catching a loose stitch or worn billet now is much cheaper than dealing with a tack failure later.
Special Leather Care Situations
Rescuing Water-Damaged Leather
If your saddle has been soaked by rain or a wash-rack mishap:
- Let it dry slowly at room temperature
- Once dry (or nearly dry), apply a light coat of conditioner
- Repeat over several days rather than flooding it with oil at once
Never leave a wet saddle in front of a heater or in full sun to “speed-dry” it.
Treating Mold and Mildew
Mold happens, especially in humid tack rooms.
- Wipe surface mold with a damp cloth and a mild leather cleaner
- Let it dry, then apply a light conditioner
- Improve tack room ventilation or add a dehumidifier to prevent it coming back
Avoid bleach or harsh household cleaners — they damage leather and stitching.
Repairing Minor Scratches and Scuffs
Small surface scuffs can often be softened with conditioner or a tinted leather balm.
- Clean the area first
- Apply a tiny amount of balm with a cloth
- Buff gently to blend
Deep cuts, broken stitching, or torn billets should go to a professional saddler.
Caring for Antique or Vintage Saddles
Older saddles can be beautiful but fragile:
- Use very mild cleaners and gentle conditioners
- Avoid heavy oiling that can loosen old stitching
- If in doubt, consult a saddler who specialises in restoration
The goal with an older saddle is often preservation, not making it look brand new.
Building a Regular Leather Saddle Care Schedule
Daily Quick-Clean Routine
After each ride, spend 2–3 minutes:
- Wiping sweat and dirt from the flaps, seat, and billets
- Checking for any new rubs or marks
This tiny habit prevents salt buildup and makes your monthly deep clean much easier.
Weekly Maintenance Steps
Once a week (or every few rides if you ride daily):
- Give the saddle a light clean with glycerin soap or leather cleaner
- Wipe off any arena dust and hair
- Spot condition any dry or high-friction areas
Monthly Deep Cleaning Protocol
Once a month (or every 4–6 weeks depending on use):
- Follow the full step-by-step cleaning and conditioning routine
- Check stitching, billets, and hardware carefully
- Condition more thoroughly in drier climates or winter heating seasons
Seasonal Care Considerations
Summer vs. Winter Storage
- Summer:
- Protect from excess heat and direct sun
- Clean sweat off promptly after hot rides
- Winter:
- Avoid damp, poorly ventilated tack rooms
- Use a breathable saddle cover, not plastic
In any season, store your saddle on a supportive rack so it doesn’t twist or warp.
Your Saddle Care Legacy: Keeping Tack Ride-Ready for Years
A well-cared-for saddle tells a story: of miles ridden, horses trusted, and time well spent in the saddle. Learning step-by-step leather saddle cleaning and conditioning isn’t just about shine — it’s about respect for your equipment, your horse, and your own safety. With a simple routine and a bit of consistency, you can:
- keep your saddle comfortable and secure
- prevent costly repairs
- preserve its value for resale or for the next generation of riders
Think of every cleaning session as adding a little more life to your tack. Your future self — and your horse — will thank you.
FAQs About Leather Saddle Cleaning & Conditioning
How often should I clean and condition my leather saddle?
Light clean after every few rides, especially in hot or sweaty conditions. Do a full clean and condition about once a month, or more often if you ride daily or in harsh weather.
Can I use household soap or baby wipes on my saddle?
It’s better not to. Many household products strip natural oils or leave residues that attract dirt. Use saddle soap or a leather cleaner made for tack.
Will conditioning darken my saddle?
Some conditioners will slightly darken lighter leather, especially if it’s dry. Always test products on a hidden area first. If you want to minimise darkening, use a lighter cream-based conditioner and apply sparingly.
How do I know if I’m over-conditioning my saddle?
Signs include:
- leather feeling spongy or floppy
- a greasy or sticky surface that attracts dust
- darkening that keeps increasing with each application
If you see these, back off — clean without conditioning for a while and let the leather rebalance.
What’s the best way to store a leather saddle long-term?
- Clean and condition before storage
- Store in a cool, dry place with good airflow
- Use a breathable cover (cotton, not plastic)
- Keep it on a proper rack to avoid warping
Follow this guide and your leather saddle won’t just survive years of riding — it’ll age beautifully right along with you.