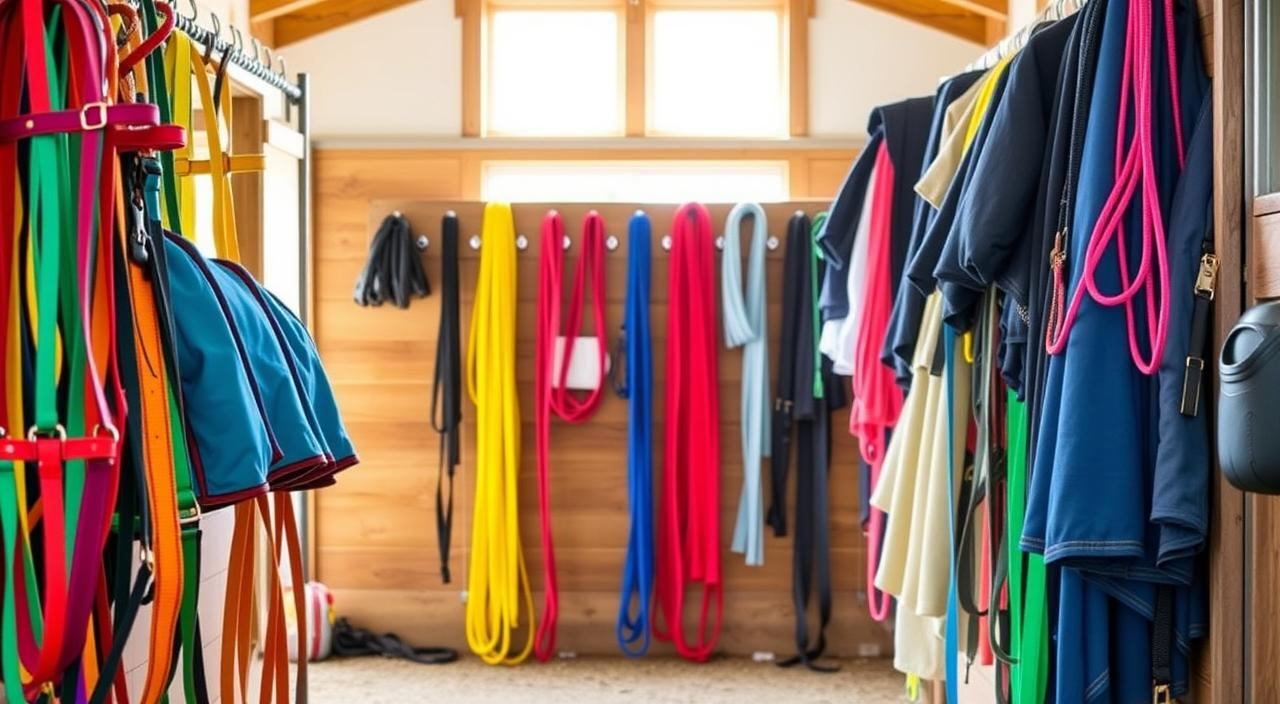
As any seasoned equestrian knows, managing a busy stable or barn filled with horses requires impeccable organization. Between halters, lead ropes, blankets, and other equipment, things can quickly become chaotic, making daily tasks like feeding, grooming, and turnout unnecessarily time-consuming. But what if you could instantly identify the right gear for each horse, saving both time and stress? A DIY color-coding system for halters, lead ropes, and blankets is a simple yet powerful solution to streamline your barn’s organization. A color-coding system not only makes it easier to locate the right gear, but it also helps improve efficiency, reduce the risk of cross-contamination, and enhance safety—especially in emergencies. With just a little effort and some thoughtful planning, you can create a system that simplifies your barn management tasks. Let’s explore how to build an effective color-coding strategy that works for you and your horses.
Why Color-Coding Your Horse Equipment Matters
Color-coding your horse gear is more than just an organizational tool—it’s an investment in efficiency, safety, and health. Here’s why it makes a difference in your stable.
Efficiency in Multi-Horse Barns
In barns with several horses, equipment can quickly get mixed up. By using a color-coding system, each horse’s halter, lead rope, and blanket will have its own distinct color, which allows for easy identification. This makes tasks like feeding, grooming, and tacking up quicker, saving valuable time and effort during busy barn routines.
Preventing Cross-Contamination Between Horses
Horses are susceptible to parasites, bacteria, and viruses that can spread through shared equipment. Using a color-coding system ensures that the right gear is kept with the right horse, preventing cross-contamination and reducing the risk of disease transmission. For instance, using separate colors for each horse’s gear helps ensure that halters and lead ropes aren’t accidentally shared.
Quick Identification in Emergency Situations
In emergency situations—whether it’s a horse escaping, a fire, or a storm—you need to act quickly. A color-coding system enables barn staff to quickly identify each horse and its equipment, reducing the time it takes to secure the animal. This could make all the difference in an emergency.
Planning Your DIY Color-Coding System for Halters
A well-planned system can make your barn’s operation run like clockwork. Here’s how to get started:
Assessing Your Equipment Inventory
Start by taking inventory of all your halters, lead ropes, and blankets. List which horse each piece belongs to and whether it’s used for specific purposes (e.g., exercise, turnout, or shows). This helps determine how many colors you’ll need. For example, if you have three horses with similar needs, you might group them together under a color scheme.
Choosing a Color Scheme That Makes Sense
Pick colors that stand out but also make sense for your barn. Ensure they’re distinguishable, especially during busy times or emergencies. Bright colors like orange, yellow, and green are easy to spot, but remember to consider visibility in low-light conditions. Dark colors, such as black or navy, might blend into shadows.
Color Psychology for Horse Recognition
Color psychology can also play a role in your system. For instance, red is often associated with energy and attention, so it could work well for horses that need more caution. Meanwhile, blue is calming, making it a good choice for more anxious or skittish horses.
Practical Color Combinations
When mixing colors, aim for contrast and clarity. Pairing bright colors with darker ones can create a balance that’s visually appealing and easy to identify.
Creating a Color Key or Legend
To make sure everyone in the barn is on the same page, create a color key or legend. This document will list each color and the corresponding horse or piece of equipment. Keep it visible and accessible to everyone who interacts with the horses to ensure consistency.
Materials and Tools Needed for Your Project
Now that you have a plan, it’s time to gather the materials and tools you’ll need for the job.
Safe and Horse-Friendly Coloring Options
When applying color to your equipment, safety should always be your top priority. Use non-toxic paints and dyes specifically designed for horse gear to avoid skin irritation or harm. Brands like Weaver Equine offer high-quality products that are safe for horses and durable for long-term use.
Weather-Resistant Materials
Consider the weather conditions your equipment will face. Your color-coding system should withstand the elements, including sun, rain, and humidity. Look for UV-stable and waterproof paints or tapes that can endure harsh conditions.
Essential Tools for Different Techniques
Depending on your approach, you’ll need specific tools for painting, dyeing, or applying colored tape. Here are the essentials for each technique:
| Technique | Tools Needed |
|---|---|
| Painting | Brushes, Paints, Palette |
| Dyeing | Dye, Measuring Cups, Gloves |
| Applying Electrical Tape | Electrical Tape, Scissors |
By selecting the right materials, you ensure your color-coding system will be both durable and horse-friendly.
Color-Coding Methods for Nylon and Synthetic Halters
Nylon and synthetic halters are common in many barns. Here’s how to apply a color-coding system to these materials:
Using Colored Electrical Tape
A simple, effective way to color-code nylon halters is by wrapping colored electrical tape around the cheekpieces or browband. This method is inexpensive, durable, and easy to do. Plus, electrical tape comes in many bright, visible colors that can be quickly applied.
Applying Fabric Paints and Markers
If you’re feeling creative, you can use fabric paints or markers to apply colorful designs or patterns to your nylon halters. These options allow you to add a personal touch to each halter while making it easy to identify. Be sure to choose products that are compatible with synthetic materials.
Adding Colored Hardware and Accessories
For a more permanent solution, consider using colored buckles, rings, or clips. Many halters come with customizable hardware that can be swapped out in various colors. This helps make your system clear while also adding a touch of style.
Techniques for Color-Coding Leather Halters and Equipment
Leather is more traditional and durable but requires more care when applying a color-coding system.
Leather-Safe Dyes and Paints
For leather halters, use leather-safe dyes or paints that adhere well to the material without damaging it. Make sure the dye or paint matches your halter’s leather type. Apply it carefully, following the instructions for the right color.
Attaching Colored Tags and Nameplates
Another simple method is to attach colored tags or nameplates to your leather halters. Leather, metal, or plastic tags can be used, and they’re great for additional personalization and clarity. They can be riveted or screwed into place, providing a durable, long-lasting option.
Incorporating Colored Stitching and Accents
For a subtle yet effective approach, consider colored stitching or accent threads in your leather halters. This method adds style and is less noticeable than larger, bulkier elements like tags or hardware.
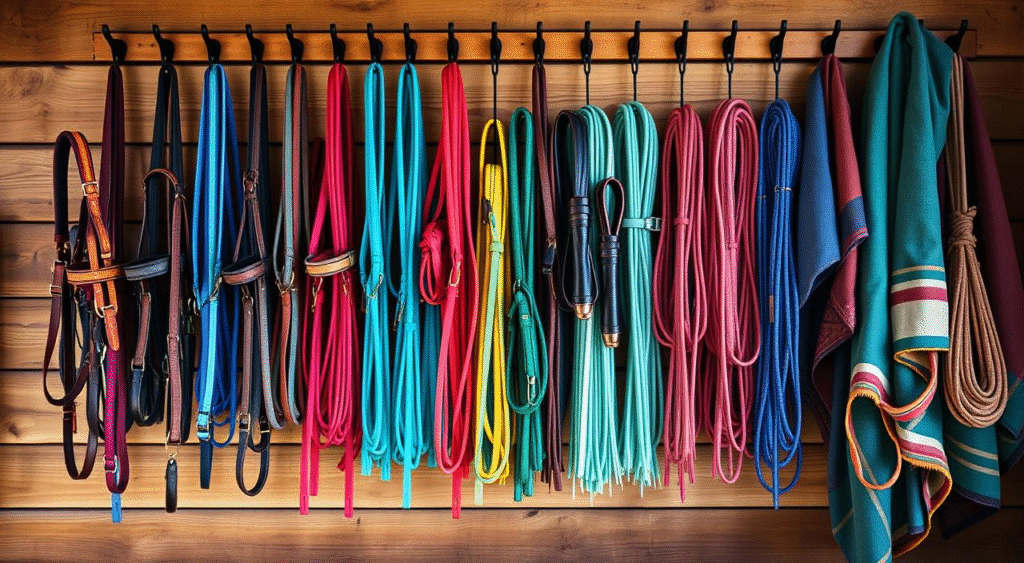
Lead Rope Color-Coding Strategies
Lead ropes are another essential piece of equipment that can benefit from color coding. Here are some simple methods to color-code your lead ropes:
Dip-Dyeing Rope Ends
Dip-dyeing the ends of lead ropes is a creative and durable method. Simply soak the ends of the rope in dye to achieve your desired color. It’s easy to do and ensures the color stays vibrant.
Adding Colored Tape or Heat Shrink Tubing
You can also wrap colored tape or apply heat shrink tubing at the end of the lead ropes. This method is quick, easy, and versatile, allowing you to use different colors to differentiate your ropes.
Using Braided Colored Sections
For a stylish twist, try braiding colored sections into your lead ropes. This adds both color and a visual distinction that’s easy to spot, making each horse’s lead rope unique.
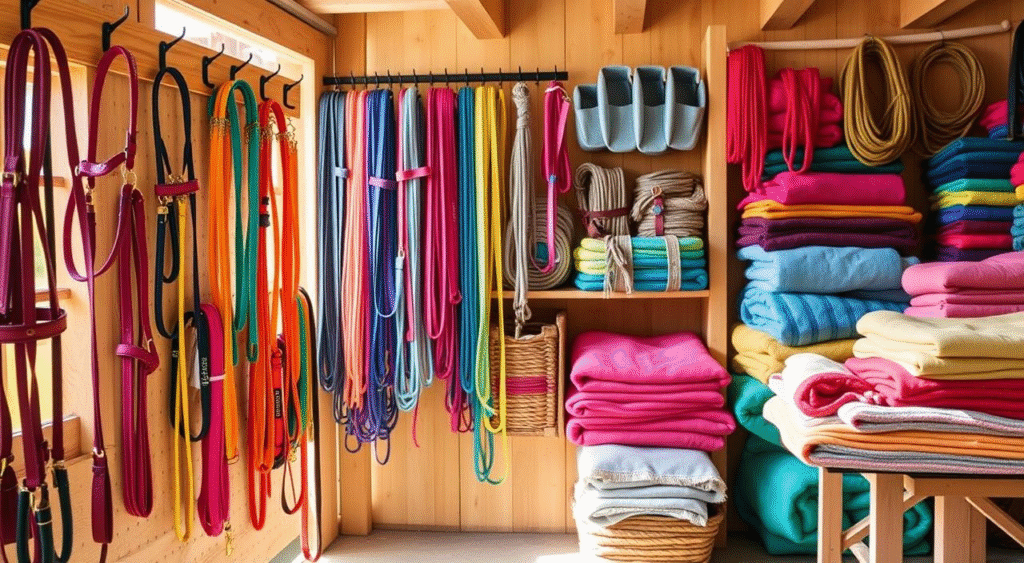
Blanket and Sheet Organization Systems
For horse owners with lots of wardrobe for their horses, a color-coding system helps a lot. It makes managing blankets and sheets easier. It also makes your barn look better and work better.
Embroidery and Fabric Marker Techniques
Using embroidery or fabric markers is a smart way to organize horse blankets and sheets. Label each blanket with the horse’s name or a special code. This way, you can tell which blanket is for which horse fast. It’s great for homes with many horses where things can get mixed up.
Attaching Colored Patches or Binding
Another good idea is to use colored patches or binding to tell blankets apart. For example, use red for one horse and blue for another. This makes it easy to pick the right blanket quickly, saving time in the morning and evening.
Creating Color-Coded Storage Solutions
Once your blankets are color-coded, the next step is organizing them. Here are some storage strategies:
| Method | Description | Benefit |
|---|---|---|
| Hanging Systems by Color | Hang blankets by horse color | Quick access to the right blanket |
| Labeled Storage Bins | Store blankets in color-coded bins | Keeps storage neat and organized |
These color-coded storage solutions make it easy to grab the right blanket for each horse while keeping your barn tidy and organized.
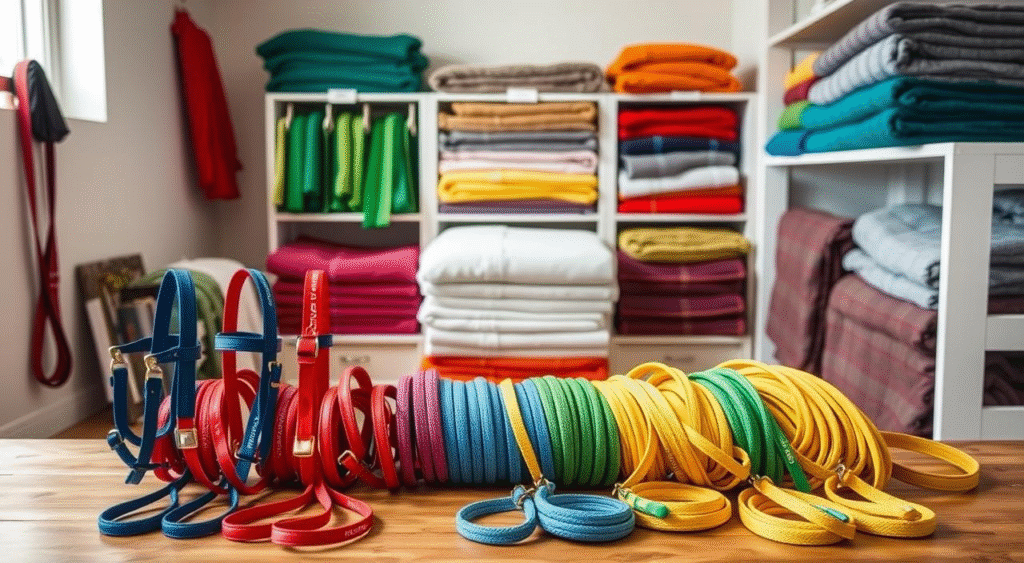
Step-by-Step DIY Color-Coding Project Examples
Let’s explore some DIY projects to organize your horse gear with color-coding. These projects are simple and need just a few materials. They help you quickly find your horse’s equipment and keep your barn tidy.
Weekend Halter Makeover Project
Make your halter special with a color-coding makeover. It’s a great weekend project that can really improve your barn’s organization.
Materials List
You’ll need a few basic things: colored electrical tape, fabric paints or markers, and a halter. The Patterned Non-Adjustable Halter from Weaver Equine is a good choice for this project.
Process Instructions
First, clean your halter well. Then, pick how you want to color-code it: use colored tape or fabric paints/markers. Make sure the materials are safe for your horse and last long.
Lead Rope Color-Coding in Under an Hour
Color-coding your lead ropes is quick and easy. Just pick a colored tape or heat shrink tubing that fits your system, and wrap it around the rope’s end. It adds color and makes it easy to pick the right rope fast.
Blanket Identification System for Multiple Horses
If you have many horses, a blanket ID system is a big help. Use embroidery or fabric markers to add your horse’s name or a unique mark to their blankets. Or, attach colored patches or binding to tell blankets apart.
These DIY color-coding projects will make your barn more organized and efficient. Whether you’re updating halters, color-coding lead ropes, or creating a blanket ID system, these tasks are fun, simple, and effective.
Making Your Color-Coding System Work for Years to Come
To keep your color-coding system going, check your halters, lead ropes, and blankets often. Look for signs of wear. Brands like Weaver Equine and Big Dee’s Tack & Vet Supplies make durable products. But, even the best can wear out. Inspect for faded colors, worn-out tapes, or damaged parts. This is key to keeping your system working well.
Using a halter color coding guide helps you spot when something needs fixing. For example, if you use colored tape on nylon halters, you might need to reapply it. Leather halters might need re-dyeing or re-painting to keep the colors right.
Storing your gear in a smart way is also part of the system. Store halters, lead ropes, and blankets in the right places. This helps avoid damage and fading from sunlight or moisture. With regular checks and smart storage, your color-coding system will stay useful for a long time.
Conclusion:
DIY color-coding system for halters, lead ropes, and blankets is a simple yet effective strategy to enhance your barn’s organization, improve safety, and streamline daily operations. By implementing this system, you can quickly identify each horse’s equipment, reducing stress during grooming, feeding, and turnout. It also helps prevent cross-contamination between horses, making your barn safer for both horses and handlers. Whether you have a small stable or a large facility, a well-organized color-coding system can save time, reduce confusion, and improve overall efficiency. With careful planning, the right materials, and consistent maintenance, you can ensure your color-coding system remains effective for years to come.
FAQs:
1. Why should I color-code my horse’s gear?
Color-coding your horse’s gear, like halters, lead ropes, and blankets, improves efficiency, prevents mix-ups, and helps keep the barn organized. It also ensures equipment is not shared between horses, reducing the risk of cross-contamination and the spread of diseases or parasites.
2. What materials are safe to use for color-coding my horse’s equipment?
It’s important to choose non-toxic, horse-friendly materials. You can use non-toxic paints, dyes, or colored electrical tape specifically designed for equine equipment. These materials are safe for your horse’s skin and coat while also being durable enough to withstand outdoor conditions.
3. How can I make sure the color-coding system is visible in low light or emergency situations?
To ensure visibility, use bright, contrasting colors like orange, yellow, or neon green. Avoid dark colors like navy blue or black, which can blend into shadows. Consider adding reflective tape or materials to improve visibility in low-light conditions.
4. How do I color-code leather halters without damaging them?
For leather halters, use leather-safe dyes or paints that won’t damage the leather. Apply the dye or paint carefully, and always test it on a small hidden area first to ensure it won’t alter the leather’s color or texture.
5. Can I use DIY methods like fabric paint or embroidery on blankets?
Yes! Fabric paints, markers, and embroidery are great ways to label your horse’s blankets and sheets. This can include adding the horse’s name or a unique color code. Just make sure the materials you use are durable and safe for your horse.
6. How often should I check and maintain my color-coding system?
Regular checks are important to keep your system in top shape. Inspect your halters, lead ropes, and blankets for signs of wear and tear, like faded colors, worn-out tape, or damaged hardware. Reapply or replace parts as needed to maintain the integrity of the system.
7. Can a color-coding system help in emergency situations?
Absolutely! A color-coded system allows you to quickly identify horses and their respective gear in emergency situations, such as evacuations or when a horse escapes. This can help save precious time, ensuring that the correct equipment is used and the horse is properly secured.